This guide will walk you through the process of updating your email signature, step by step.
Creating a Signature #
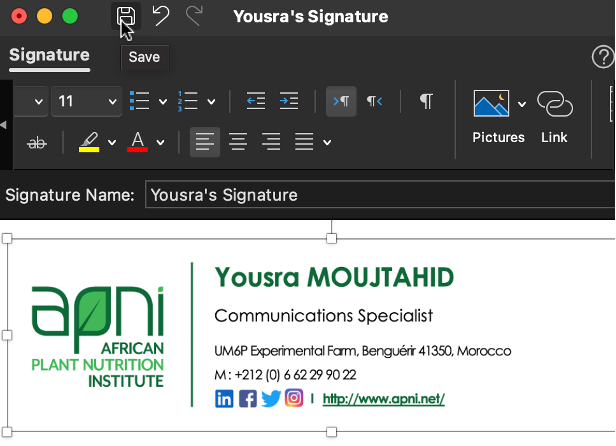
STEP 1: CLICK ON THE LINK BELOW TO ACCESS APNI’S EMAIL SIGNATURE TEMPLATE
https://docs.google.com/document/d/1aesyMLIj6Zl1XVYwFOrjU3zwrzAyOp_qd7IJMjEZNxQ/edit?usp=sharing
STEP 2: CHANGE THE TEMPLATE BY ENTERING YOUR PERSONAL INFORMATION
Copy the existing template and change the information. Enter your full name, job post, phone number and office address.

Inserting the signature file #
IF YOU ARE USING OUTLOOK 365 #
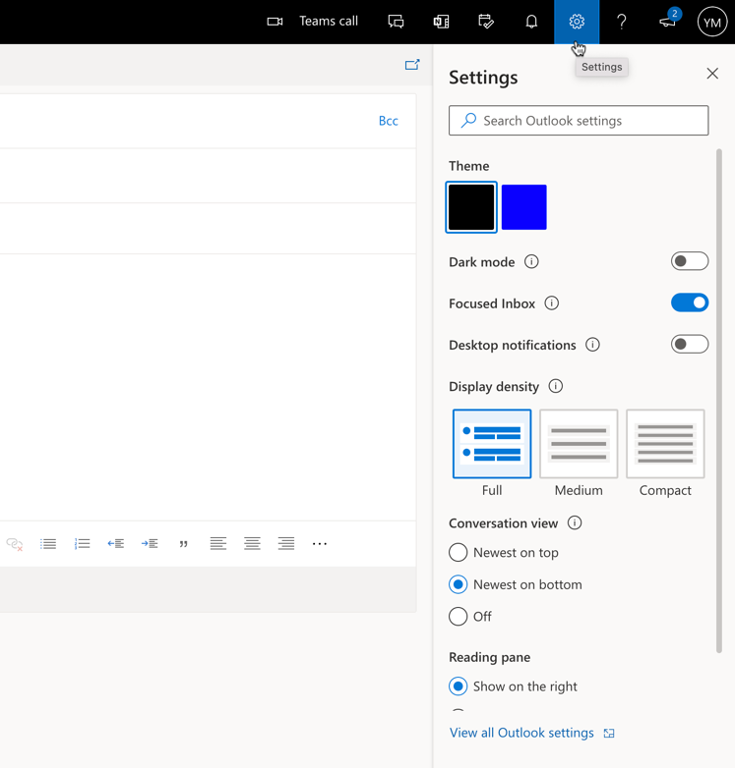
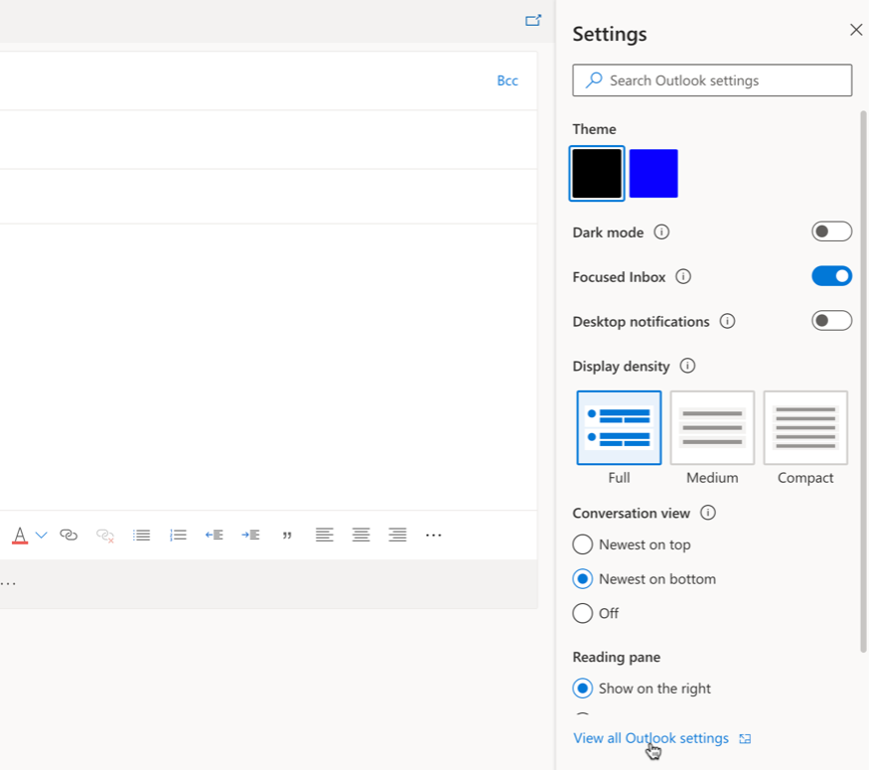
STEP 1: OPEN SETTINGS (TOP RIGHT CORNER) AND VIEW ALL OUTLOOK SETTING (BOTTOM RIGHT CORNER)
STEP 2: SELECT “COMPOSE AND REPLY”
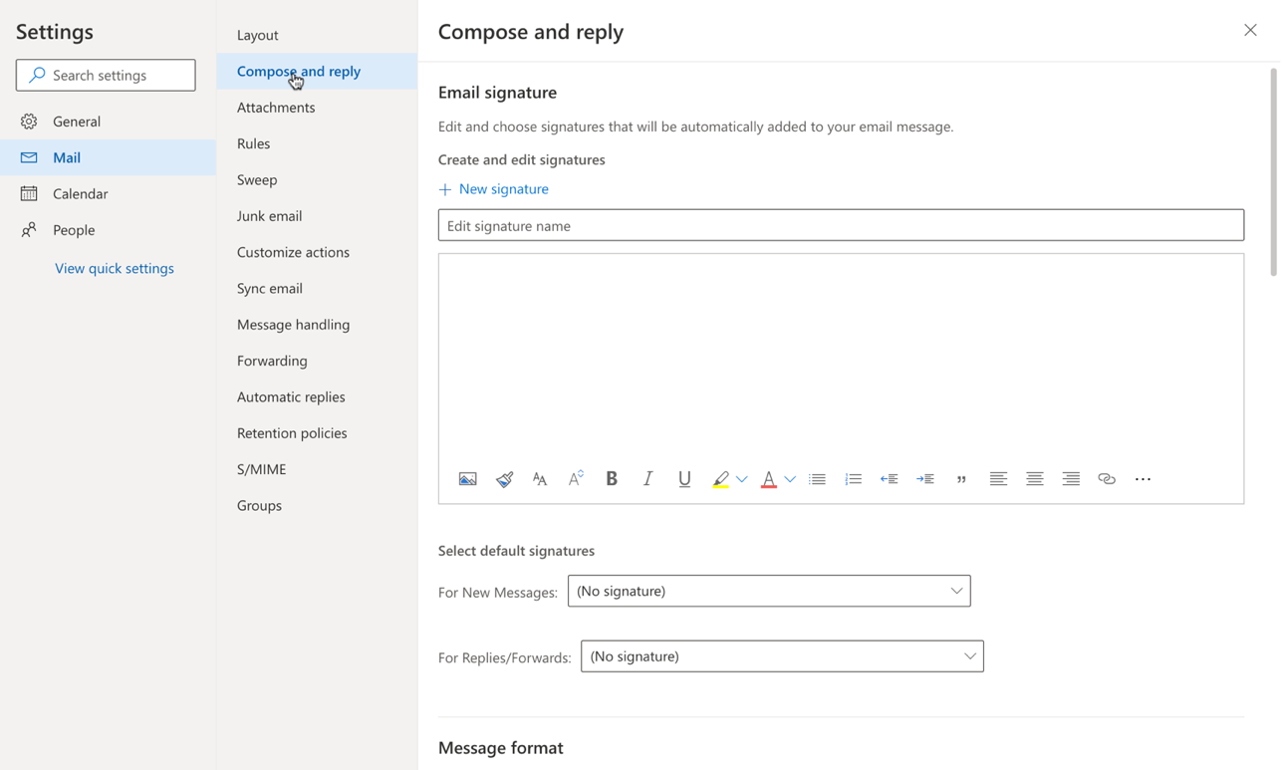
STEP 3: COPY THE SIGNATURE FROM GOOGLE DOCS TO THE BOX BELOW
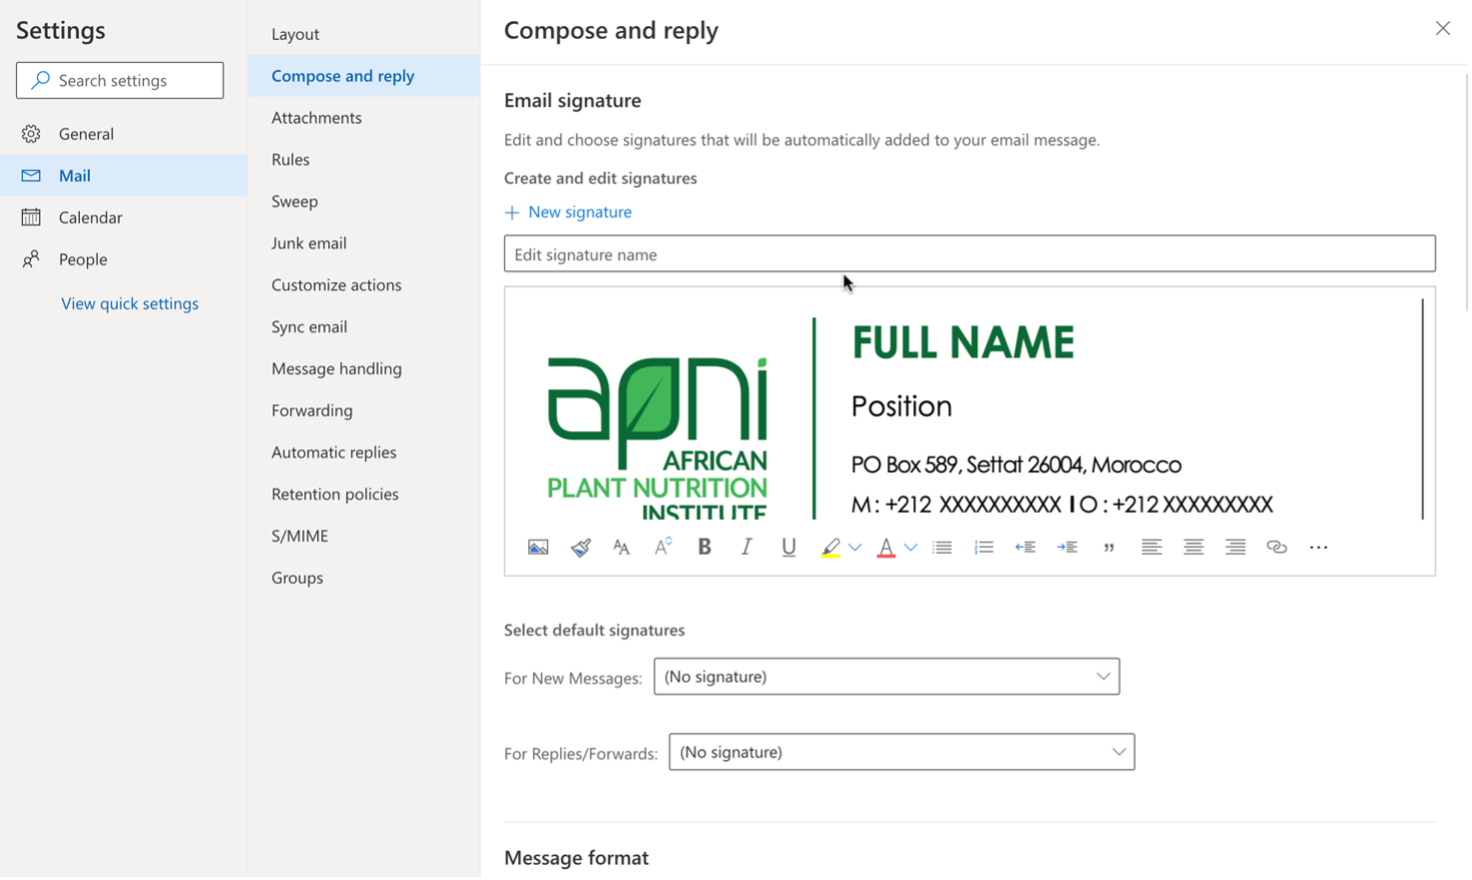
STEP 4: SAVE CHANGES
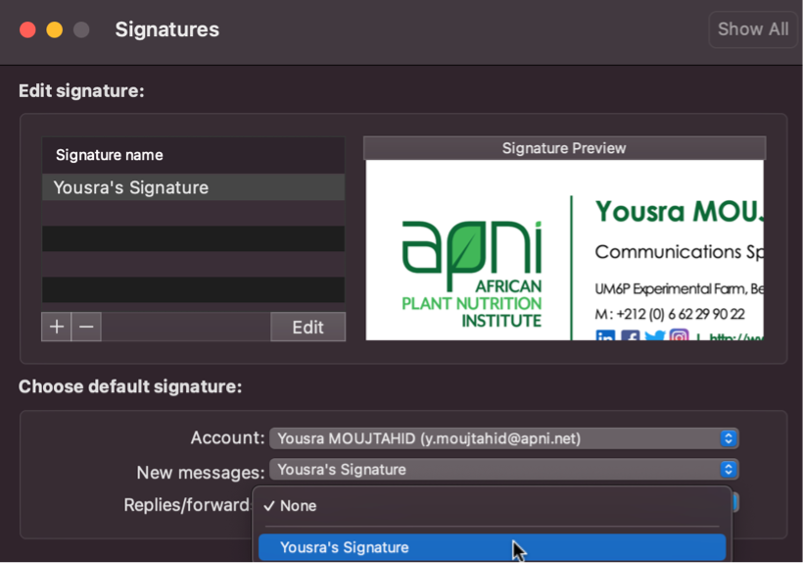
IF YOU ARE USING THE OUTLOOK 365 APP #
STEP 1: OPEN A NEW MESSAGE IN YOUR INBOX
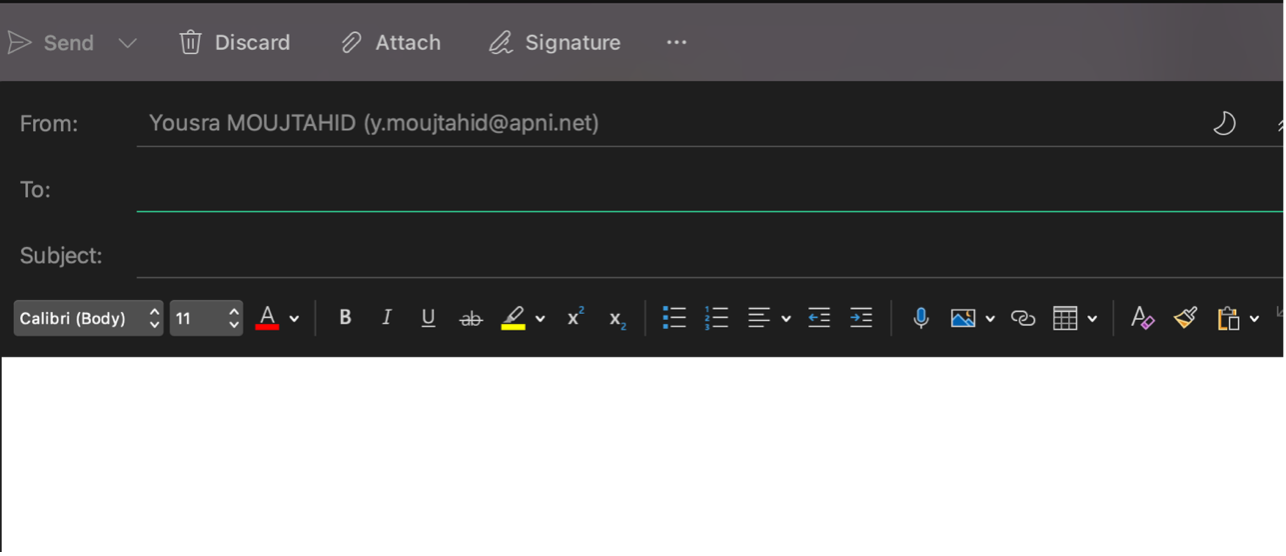
STEP 2: CLICK ON ‘SIGNATURE’ IN YOUR TOOLBAR
You can also find it by clicking on the three dots ‘…’

STEP 3: CLICK ON ‘EDIT SIGNATURE’
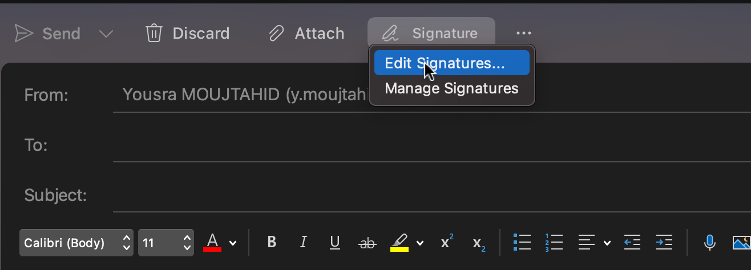
STEP 4: CLICK ON ‘+’ TO ADD NEW SIGNATURE
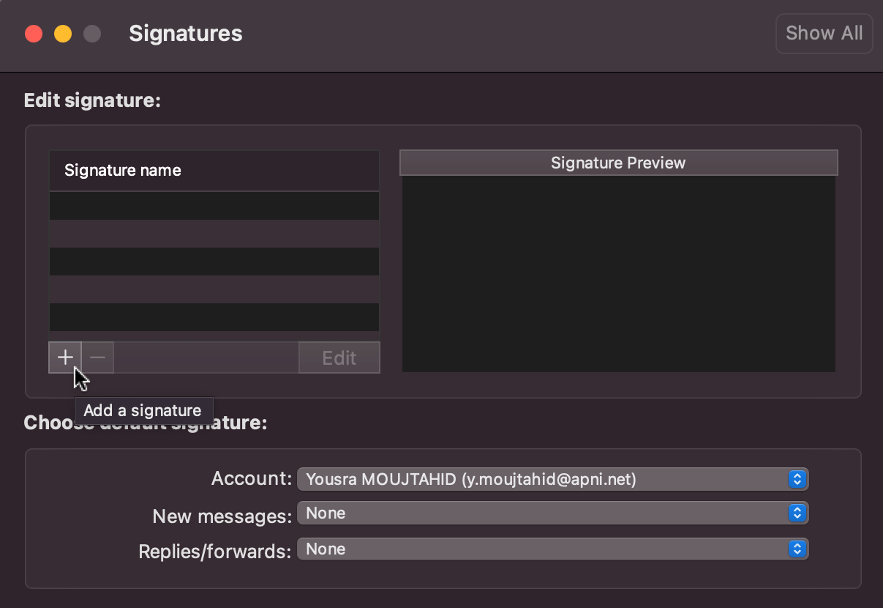
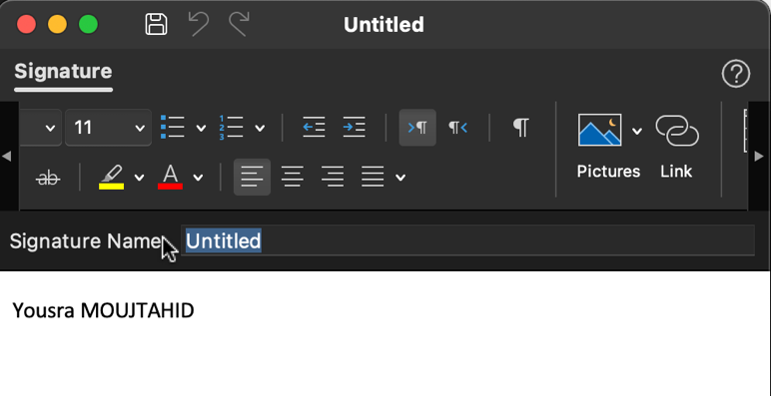
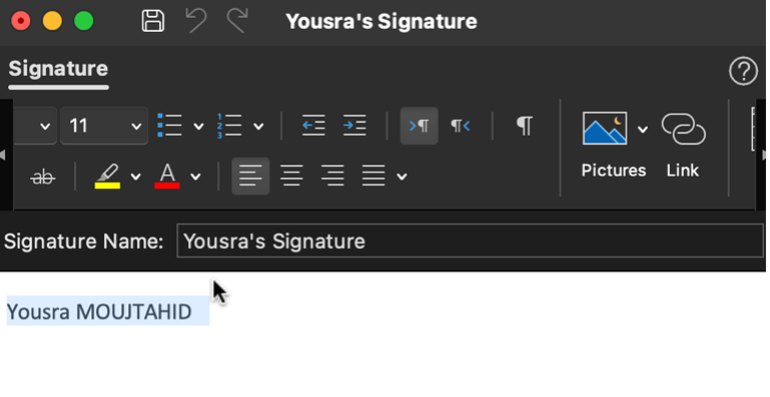
STEP 5: CHANGE THE TITLE OF THE SIGNATURE AND DELETE THE AUTOMATIC TEXT WITH YOU NAME
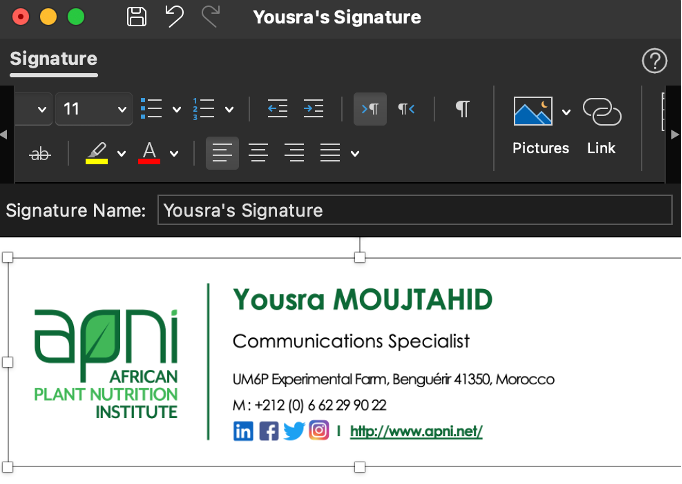
STEP 6: COPY THE UPDATED SIGNATURE FROM GOOGLE DOCS
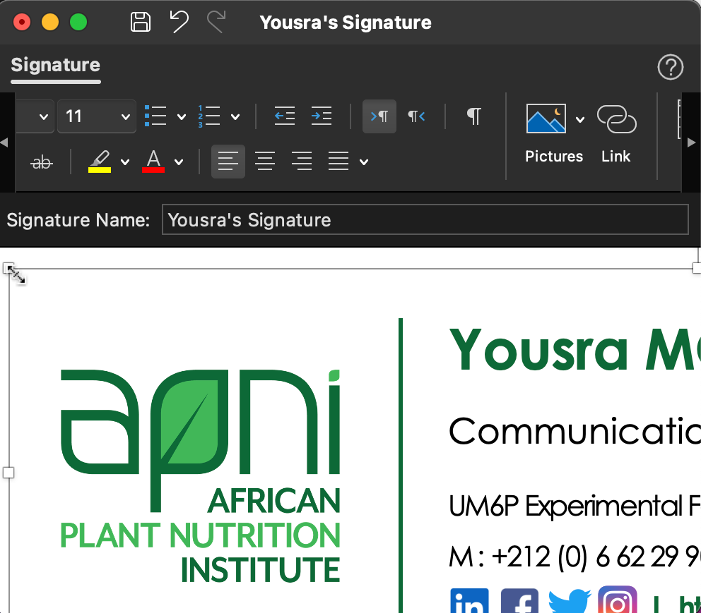
STEP 7: ADJUST THE SIZE OF THE SIGNATURE TO FIT IN THE FRAME
STEP 8: SAVE CHANGES
STEP 9: SELECT YOUR SIGNATURE PREFERENCES
Select whether you want your signature to appear only when sending new messages or also when sending replies or forwarding emails.